Trending Post: Texas Roadhouse Rolls
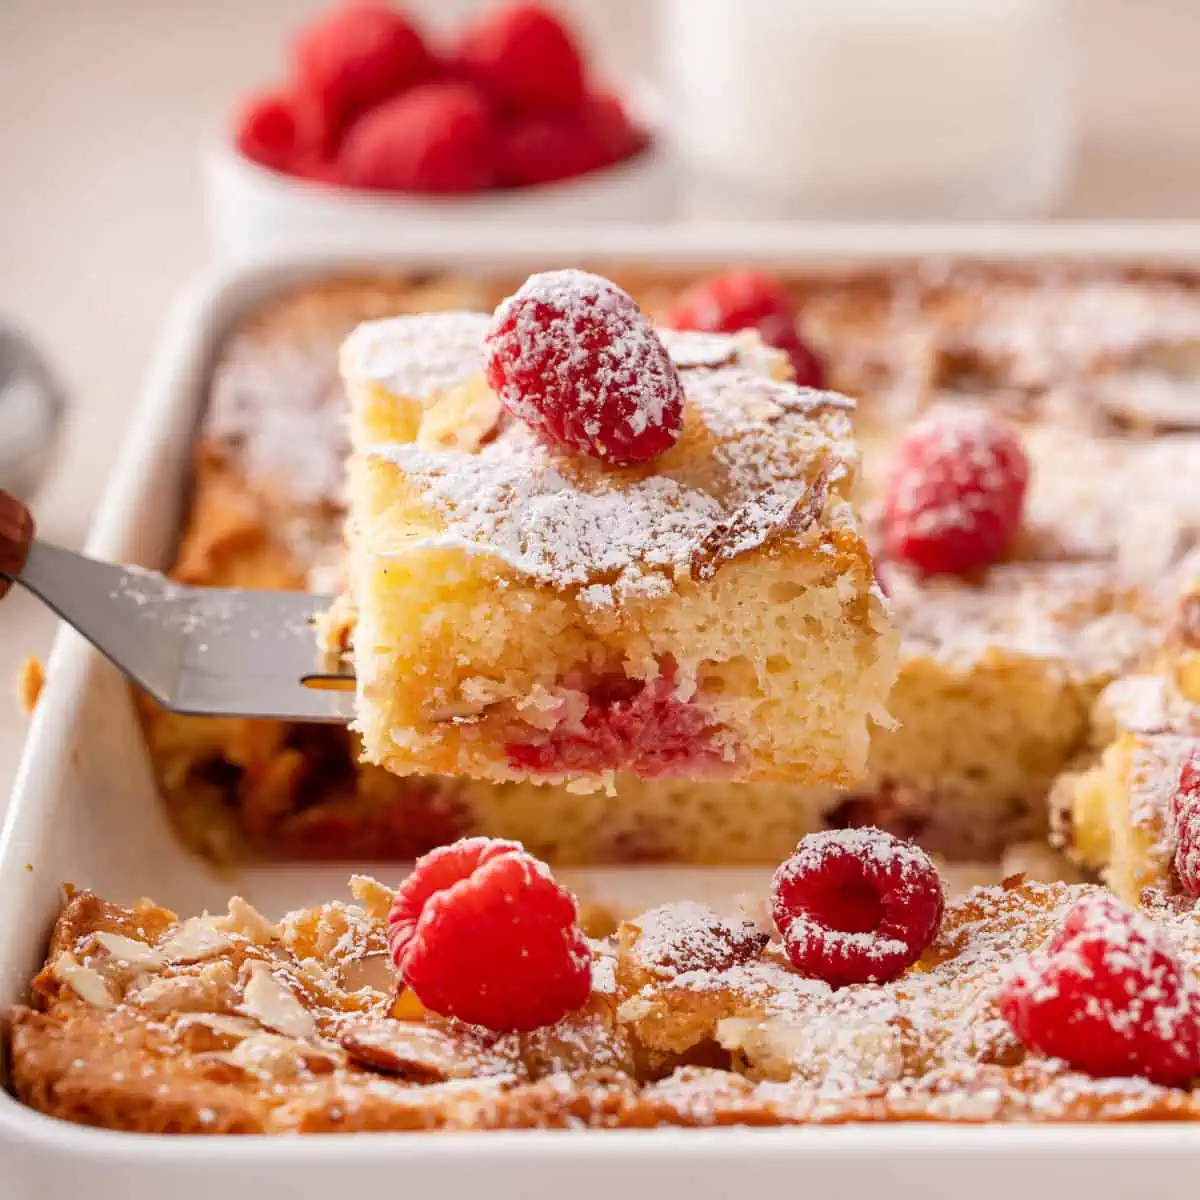
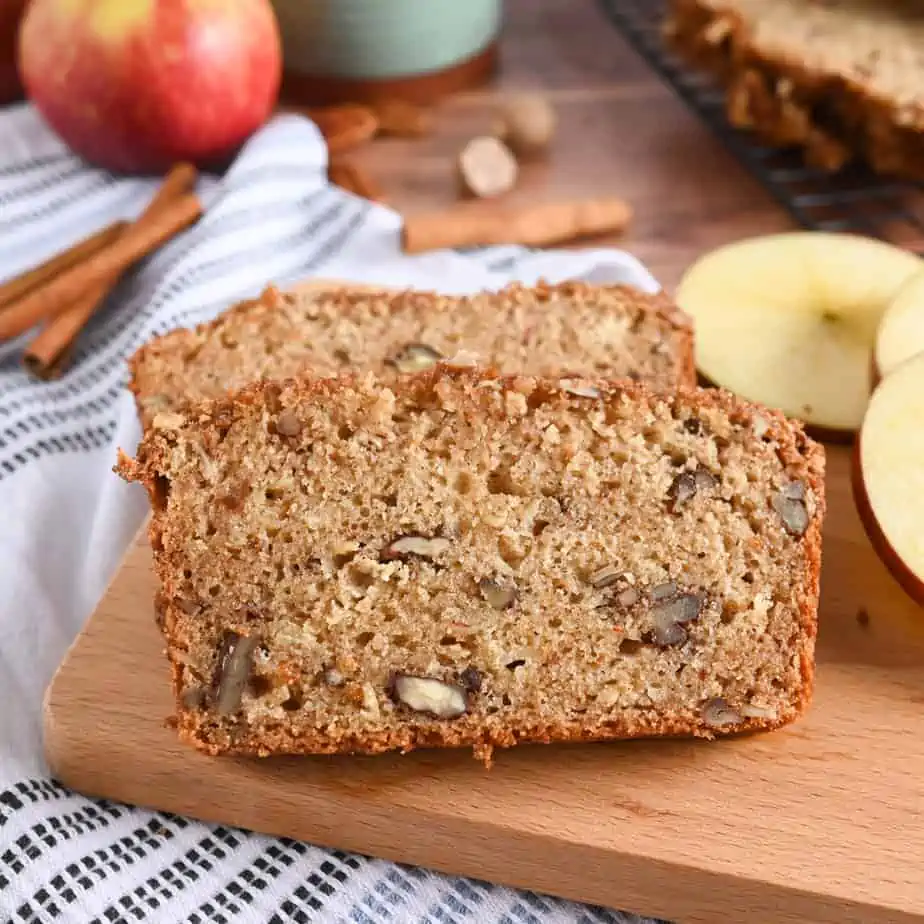
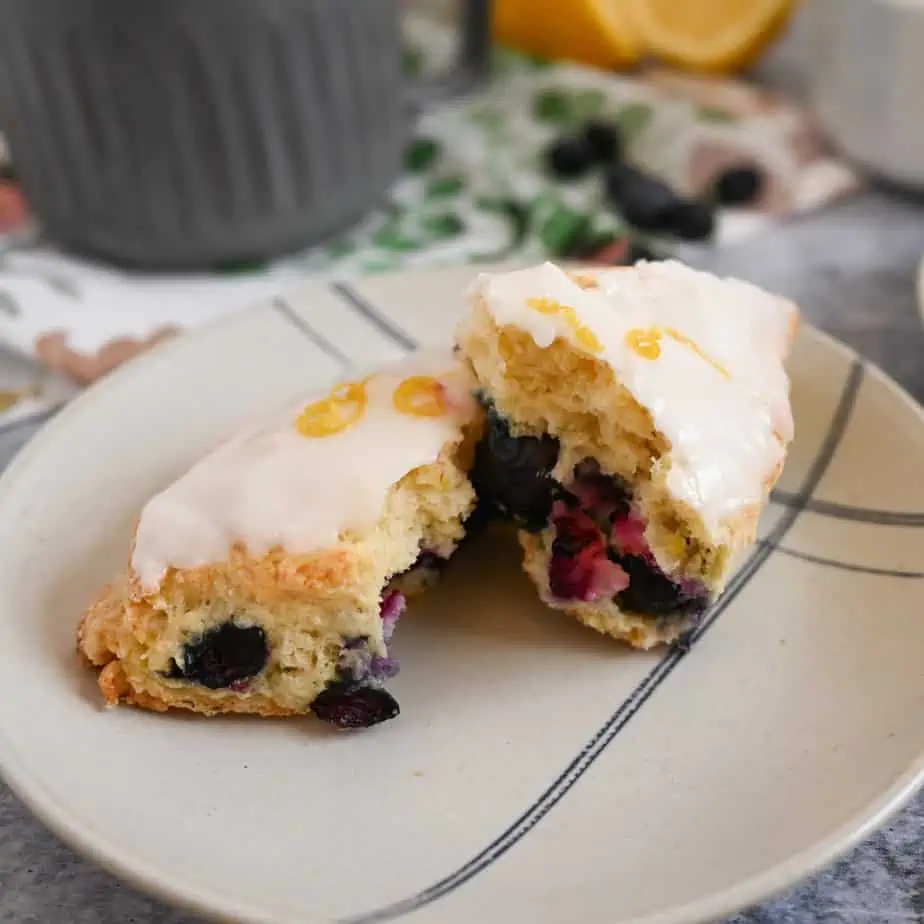
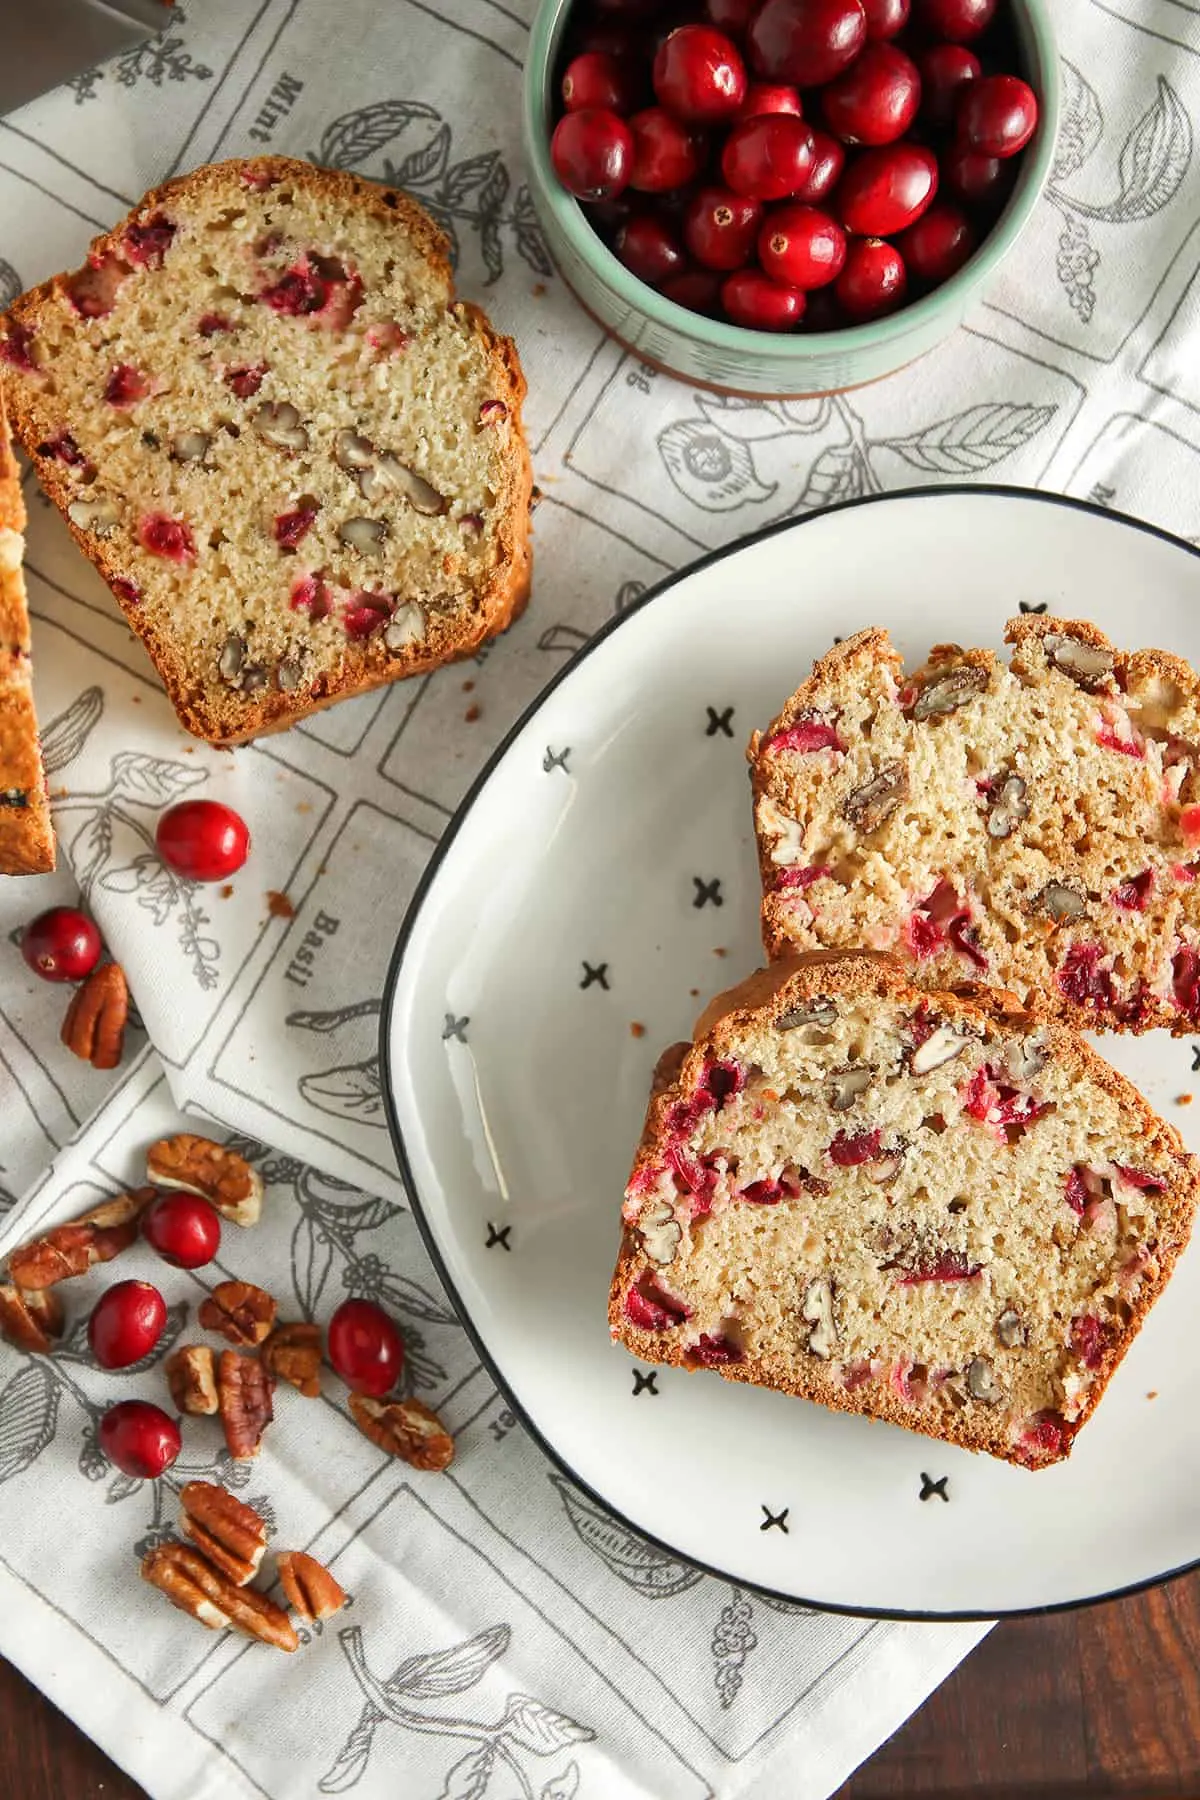
My great-grandmother always said that breakfast is the most important meal of the day.
Start off a weekday morning with a bowl of hearty banana bread steel cut oatmeal or kick off the weekend with decadent frosted orange rolls.
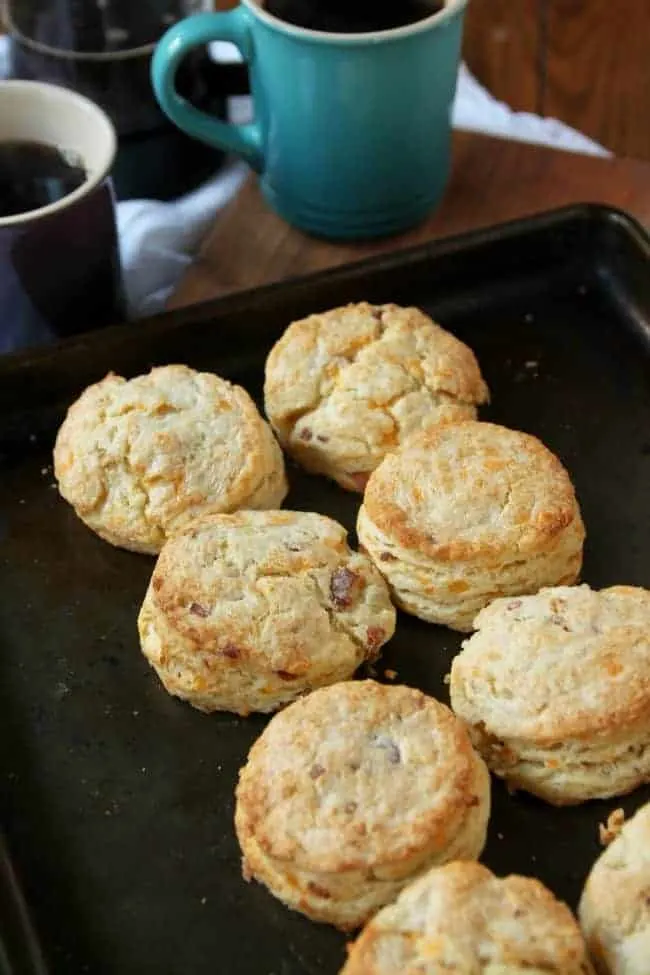
Enjoy cheddar bacon scones alongside a cup of coffee or spread persimmon butter on a piece of toast. No matter how you do it, you can’t go wrong!